Choose Your Grain: Custom Flour Grinding Experience
In the world of baking and cooking, the type of flour you use can make all the difference. Whether you're crafting a delicate pastry or a hearty loaf of bread, the grain you choose plays a crucial role in the final product. With the rise of artisanal baking and a growing interest in whole foods, many are turning to custom flour grinding as a way to enhance their culinary creations. This blog post will explore the benefits of custom flour grinding, the different types of grains available, and how you can embark on your own flour grinding journey.

Understanding Custom Flour Grinding
Custom flour grinding allows you to select the specific grains you want to use, tailoring the flour to your unique preferences and baking needs. This process not only enhances the flavor and nutritional value of your baked goods but also gives you control over the texture and quality of the flour.
Why Choose Custom Flour Grinding?
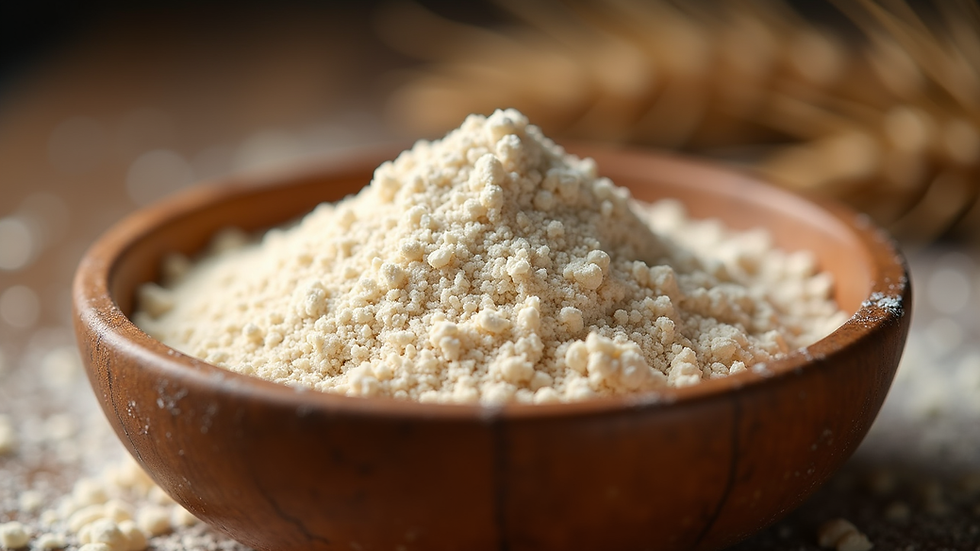
Flavor Enhancement: Freshly ground flour retains more flavor than store-bought options. When grains are milled, they release essential oils that contribute to a richer taste.
Nutritional Benefits: Whole grains are packed with nutrients, including fiber, vitamins, and minerals. Grinding your own flour ensures that you are using the whole grain, maximizing its health benefits.
Variety of Grains: Custom grinding allows you to experiment with different types of grains, such as wheat, spelt, rye, and even gluten-free options like buckwheat and almond flour.
Control Over Texture: You can adjust the coarseness of the flour to suit your baking needs, whether you want a fine flour for pastries or a coarser grind for rustic breads.
Sustainability: By choosing local grains and grinding them yourself, you can reduce your carbon footprint and support local farmers.
Types of Grains for Flour Grinding
When it comes to custom flour grinding, the options are nearly endless. Here are some popular grains you might consider:
Wheat
Wheat is the most common grain used for flour. There are several varieties, including:
Hard Red Wheat: High in protein, ideal for bread-making.
Soft White Wheat: Lower in protein, perfect for pastries and cakes.
Whole Wheat: Contains the entire grain, offering maximum nutrition.
Rye
Rye flour has a distinct flavor and is often used in traditional breads. It can be used alone or mixed with wheat flour for a unique taste.
Spelt
Spelt is an ancient grain that is gaining popularity for its nutty flavor and nutritional benefits. It can be used in a variety of baked goods, from bread to cookies.
Gluten-Free Options
For those with gluten sensitivities, there are several grains to consider:
Buckwheat: Despite its name, buckwheat is gluten-free and has a rich, earthy flavor.
Almond Flour: Made from finely ground almonds, it adds moisture and a nutty taste to baked goods.
Oat Flour: Ground from whole oats, it is versatile and can be used in many recipes.
The Flour Grinding Process
Grinding your own flour may seem daunting, but it can be a straightforward process. Here’s a step-by-step guide to get you started:
Step 1: Choose Your Grain
Select the type of grain you want to grind. Consider what you plan to bake and choose accordingly.
Step 2: Select a Grinder
There are various types of grain mills available, including:
Manual Mills: Require physical effort but are often more affordable.
Electric Mills: Offer convenience and speed, making them ideal for frequent use.
Step 3: Prepare the Grain
Make sure your grains are clean and dry. If you’re using whole grains, check for any debris or stones.
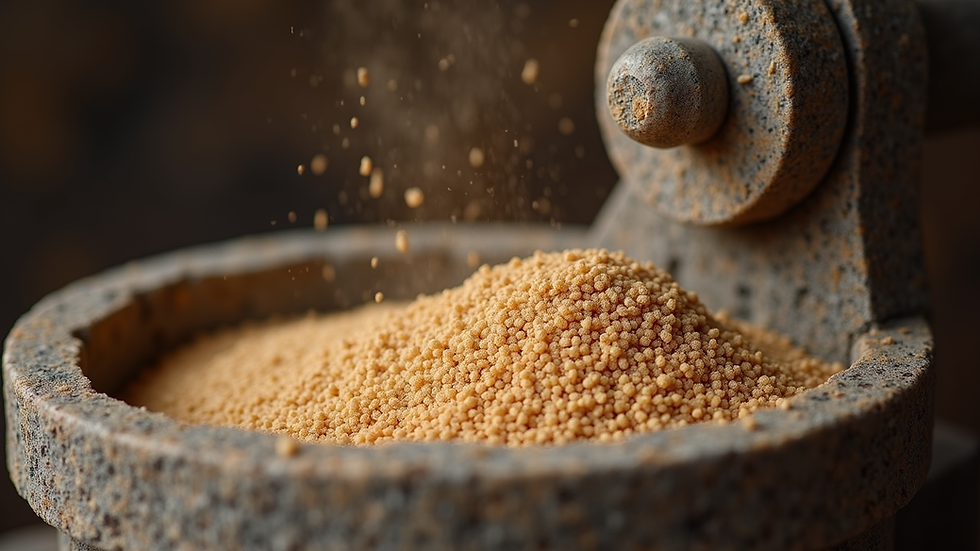
Step 4: Grind the Grain
Follow the instructions for your specific grinder. Start with a coarse setting and adjust to achieve the desired texture.
Step 5: Store Your Flour
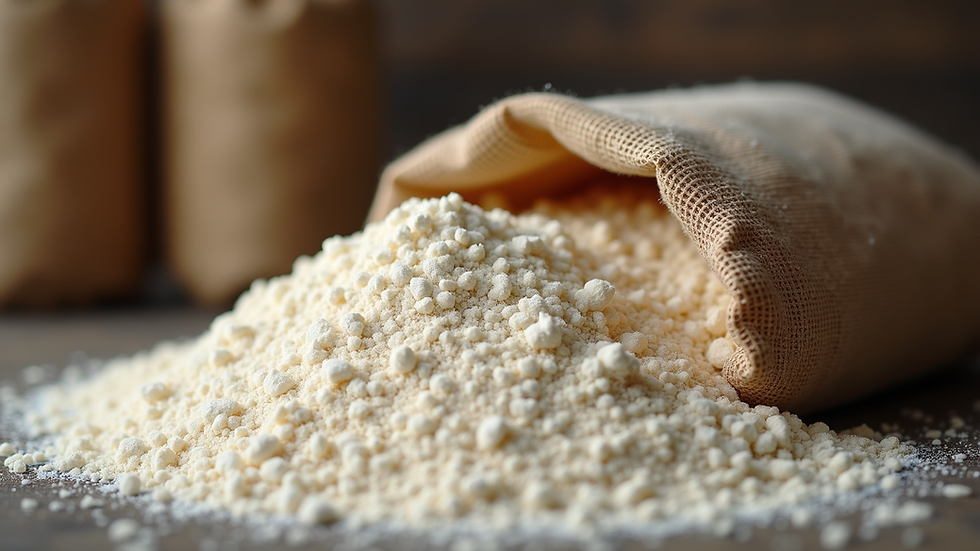
Freshly ground flour should be stored in an airtight container in a cool, dark place. Use it within a few weeks for the best flavor and nutrition.
Tips for Successful Custom Flour Grinding
Experiment: Don’t be afraid to try different grains and blends. Each grain has its unique flavor and baking properties.
Adjust Recipes: When using freshly ground flour, you may need to adjust your recipes slightly. Fresh flour can absorb more moisture, so consider adding a bit more liquid.
Keep it Fresh: Grind only what you need for your baking to ensure maximum freshness and flavor.
The Benefits of Freshly Ground Flour in Baking
Using freshly ground flour can elevate your baking in several ways. Here are some benefits to consider:
Improved Flavor
Freshly ground flour has a depth of flavor that store-bought flour often lacks. This can enhance the taste of your baked goods, making them more enjoyable.
Better Texture
The texture of your baked goods can be significantly improved with freshly ground flour. For example, bread made with fresh flour often has a better crumb structure and a more satisfying chew.
Enhanced Nutritional Value
As mentioned earlier, freshly ground flour retains more nutrients. This means that your baked goods can be healthier and more satisfying.
Recipes to Try with Custom Flour
Now that you understand the benefits of custom flour grinding, here are a few recipes to inspire you:
Whole Wheat Bread
Ingredients:
3 cups whole wheat flour
1 ½ cups warm water
2 tablespoons honey
1 packet active dry yeast
1 teaspoon salt
Instructions:
In a bowl, combine warm water, honey, and yeast. Let it sit for 5-10 minutes until frothy.
Add flour and salt, mixing until a dough forms.
Knead for about 10 minutes until smooth.
Let it rise in a warm place for 1 hour.
Shape into a loaf and bake at 350°F (175°C) for 30-35 minutes.
Buckwheat Pancakes
Ingredients:
1 cup buckwheat flour
1 cup milk (or dairy-free alternative)
1 egg
1 tablespoon baking powder
1 tablespoon sugar
Pinch of salt
Instructions:
In a bowl, mix all ingredients until smooth.
Heat a non-stick skillet over medium heat.
Pour batter onto the skillet and cook until bubbles form, then flip and cook until golden.
Conclusion
Custom flour grinding is a rewarding experience that allows you to take control of your baking. By choosing your grains and grinding them fresh, you can enhance the flavor, nutrition, and texture of your baked goods. Whether you’re a seasoned baker or just starting, experimenting with different grains can open up a world of culinary possibilities. So, gather your grains, find a grinder, and start your journey toward delicious, freshly ground flour today!
Comments